Background Information
We processed our first 10 Delaware Enhanced Broilers (DEB) from Murray McMurray Hatchery at 13 weeks 5 days on 11/5/22. We ordered 16 and kept 6 females to experiment with breeding in the spring to our Speckled Sussex rooster. We skinned the birds, and separated the wing drums, leg quarters, necks, hearts, and livers. The 9 males’ dressed weight ranged from 3p14o to 4p7oz with an average weight of 4 pounds and the female was only 3 pounds. If you want to follow our DEB meat bird journey, check out TikTok (@goinghomesteadily) and look for the red video labels with the white text. I will work on getting my content organized into folders as soon as I have that feature.
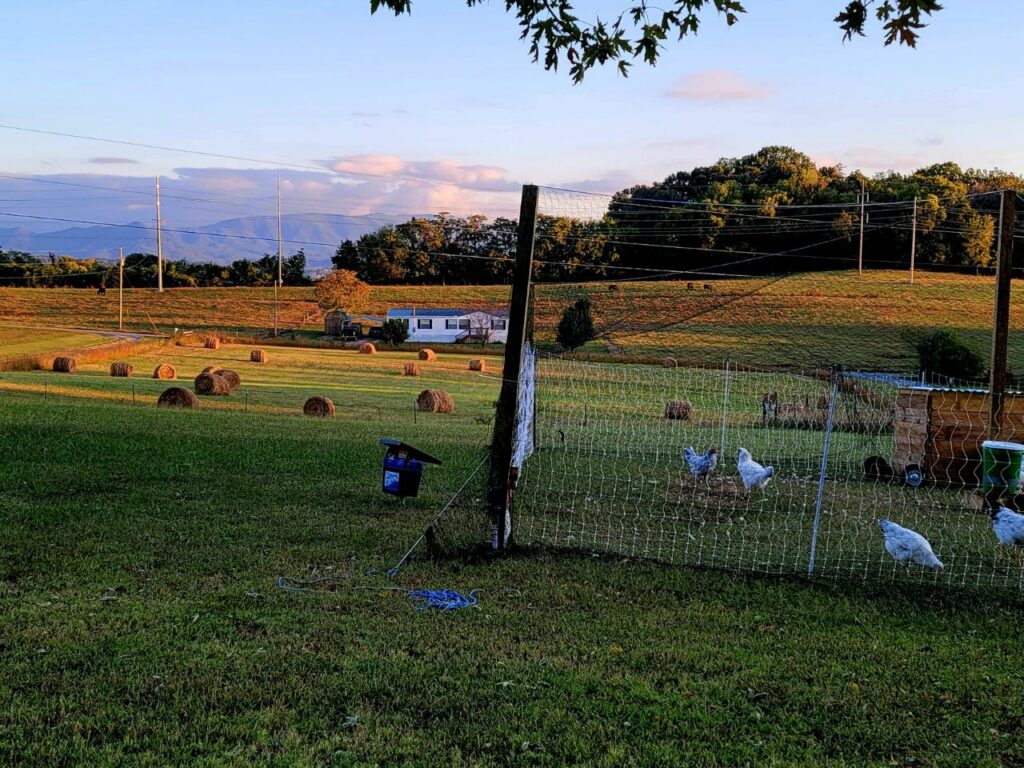
This was an older photo of the set up where we kept the meat birds the last 4 weeks (the 5 weeks prior was similar, just in a different location – moved for fresh ground, and they were inside the first 4 weeks. I already did a post on that). It is the 100 foot solar electric poultry netting from Premier1 and we used 4×4 post mounts to rig up bird netting over the top, since we have a lot of hawks here. At night, they stayed in a homemade chicken tractor.
Here was a video update the Thursday prior to butcher day.
Processing:
So let’s get to the process. We had hoped that some experienced friends would be able to come demonstrate, since I was the only one in our group who had done this before – but I was in high school then, and it has been at least 21 years. That didn’t work out, though. So, we turned to youtube. We did not actually find any single video on youtube that had all the steps we wanted, so we came up with our own.
We first grabbed the birds by the feed and inverted them, pinning them to our body to calm them before placing them into the butchering cone. We then let the birds sit there to calm, holding by the feet before removing the head completely and letting them drain until no more blood dripped from them and they were limp (about 1-2 min.). Next, we hosed the birds down well before placing them on the butchering table. We removed the feet and wings from the flats to ends (maintaining the drum part) and slit the skin above the breast so we could peel it back and off the birds. We carefully removed the skin around the vent, and opened the bird below the ribs for evisceration. We removed the liver and heart to keep as well as the neck, wings, and leg quarters, keeping the breast intact. We rinsed everything, bagged it, and packed it in ice water. Then we left them to rest in a 35 degree fridge for 4 days before packaging and canning.
We used these 3 videos to get a visualization of what to expect:
The Dispatch
Video 1: How to Retire Laying Hens by Farmstead Meatsmith (from 5:14 – end). https://youtu.be/TEDQJZHXI1I?t=314 *** This video does show the dispatch and death throws and is not suitable for all audiences. I believe Youtube will make you log in with an 18+ account to see the video. and it would not let me embed it.
Here we learned about the dispatching process. I tried his method of dispatching with a sharp knife for the first male bird. However, I personally was not strong enough to get through the full vertebrae with one clean push. So, we switched to holding the chicken’s head and using heavy duty poultry shears to cut clean through the neck just below the head. This was great for the first 8 chickens, but not as good for the last 2. It seemed like we were getting fatigued, because it took an extra cut than the others. We will be looking for a tool that will be better for endurance so that we can do more in the future.
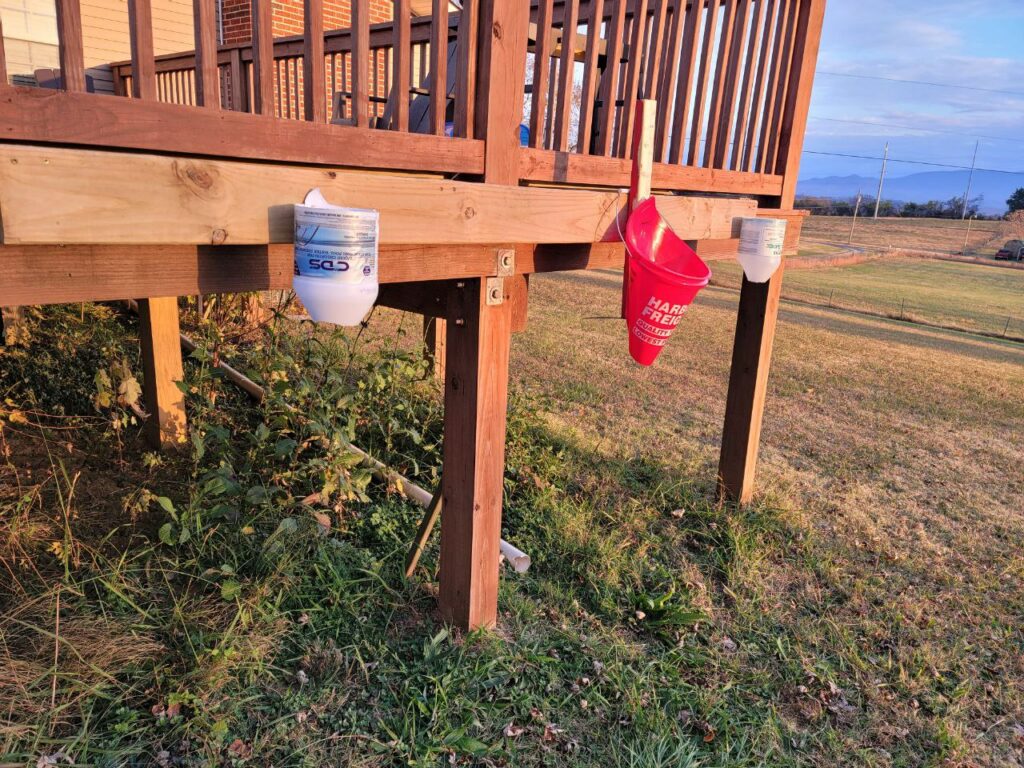
We made a basic beam we rigged up to our deck that can be easily removed for dispatching. The gallon jugs were too small for the birds, so we will upgrade to more of the bucket cones later.
You can check out how to make the bucket cone in this video:
And how we set up the deck station in this video:
I forgot to take pictures of our butcher day set up, but you can check out that video as well.
Essentially, we had 2 tables set up, one for clean stuff and the other for “dirty” stuff like skinning and eviscerating. The clean table had first aid, drinks, paper towels, my water bath canner full of hot soapy water and some wash rags for cleaning, and extra ziplock bags. The dirty table had the knives and a bucket for putting the organs in. The dirty table was rinsed off every time we finished with one bird (since there were 4 of us, we did 2 birds at a time from dispatch to the cooler before moving on). We also had some large buckets lined with contractor bags for refuse, a 32 gallon trash bin (new and cleaned) lined with a contractor bag and filled with ice water for the cooler, and a hose with a sprayer attachment running.
The Skinning:
Video 2: Skinning and Processing Chickens by Texas Patriot. (the first 5 minutes)
We used the first 5 minutes of this video to learn how to best skin the chicken. We did not do primal cuts, like he did, other than to remove the wing drums and leg quarters (which we did after evisceration steps from Video 3). We did remove the wings just as he did, but in the future, we are going to attempt to maintain the flats (that is my favorite part of the wing). This step really went fairly quickly, and going right from wetting the bird to skinning it is essential. For us, the trickiest part was finding the best spot to remove the feet, as the joint was not right where the feathers stopped. I found it easier to make a small slit across the knee, then bend the knee to see where the end of the drummie was. ** be careful not to hit the crop or the vent at this stage.
Having sharp knives is crucial. We got ours at a great price from Amazon. If you feel so inclined, please feel free to try these out using my affiliate links which help support my content creation venture.
The Eviscerating
Video 3: Chicken Evisceration Tutorial by FarmBuilder (full video)
Well we never got as fast as he was with these chickens, and we missed the lungs on a few, but this video was great. A key difference for us was that our birds were already skinned to this point, so the tails were absent and we had to open up the vent area some to get the skin off. We kept the hearts and livers and then removed the neck, wings, and quarters. We rinsed everything off at the end and just used zip-lock bags to toss them into a new lined trash can filled with ice water.
Post Processing
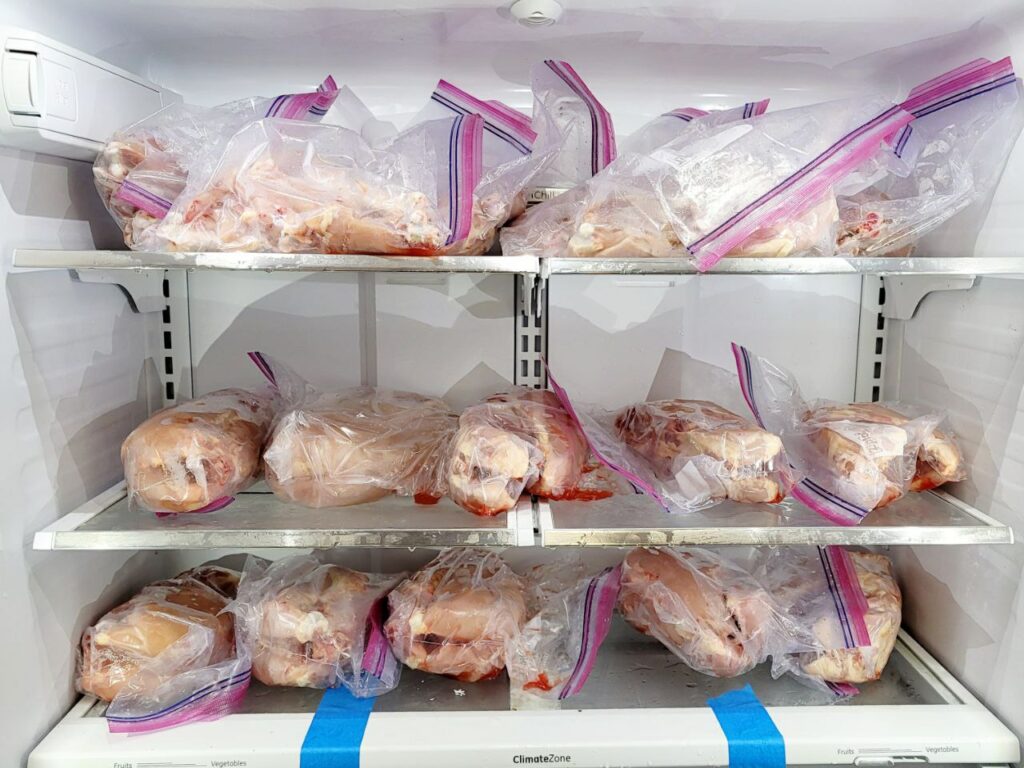
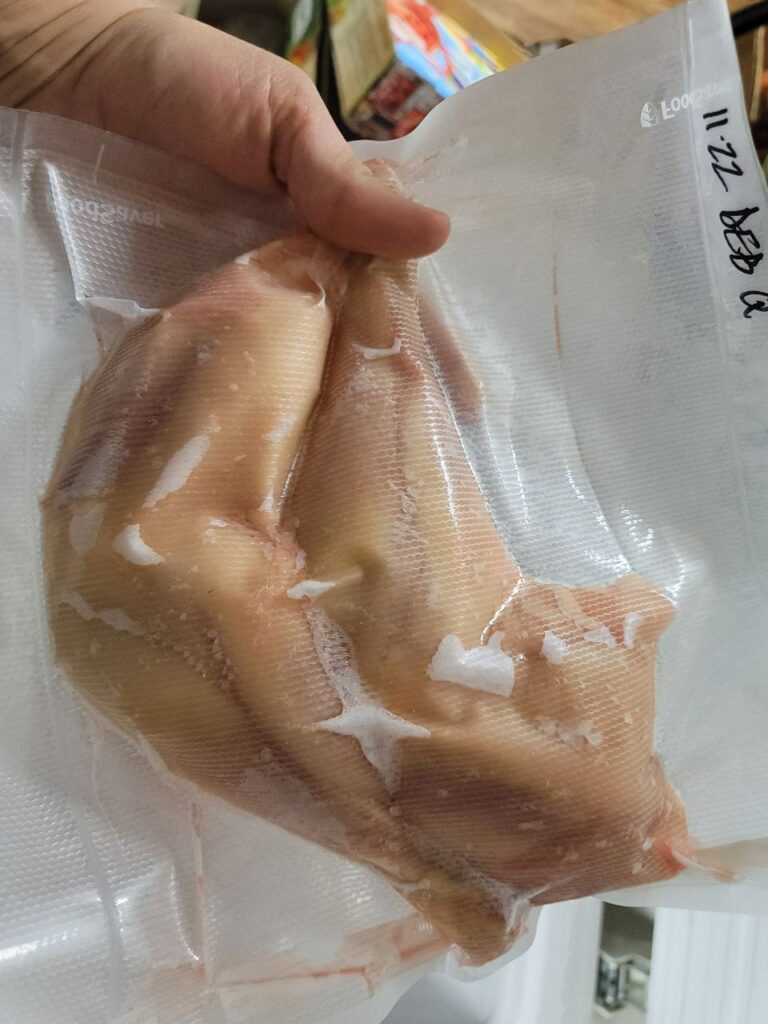
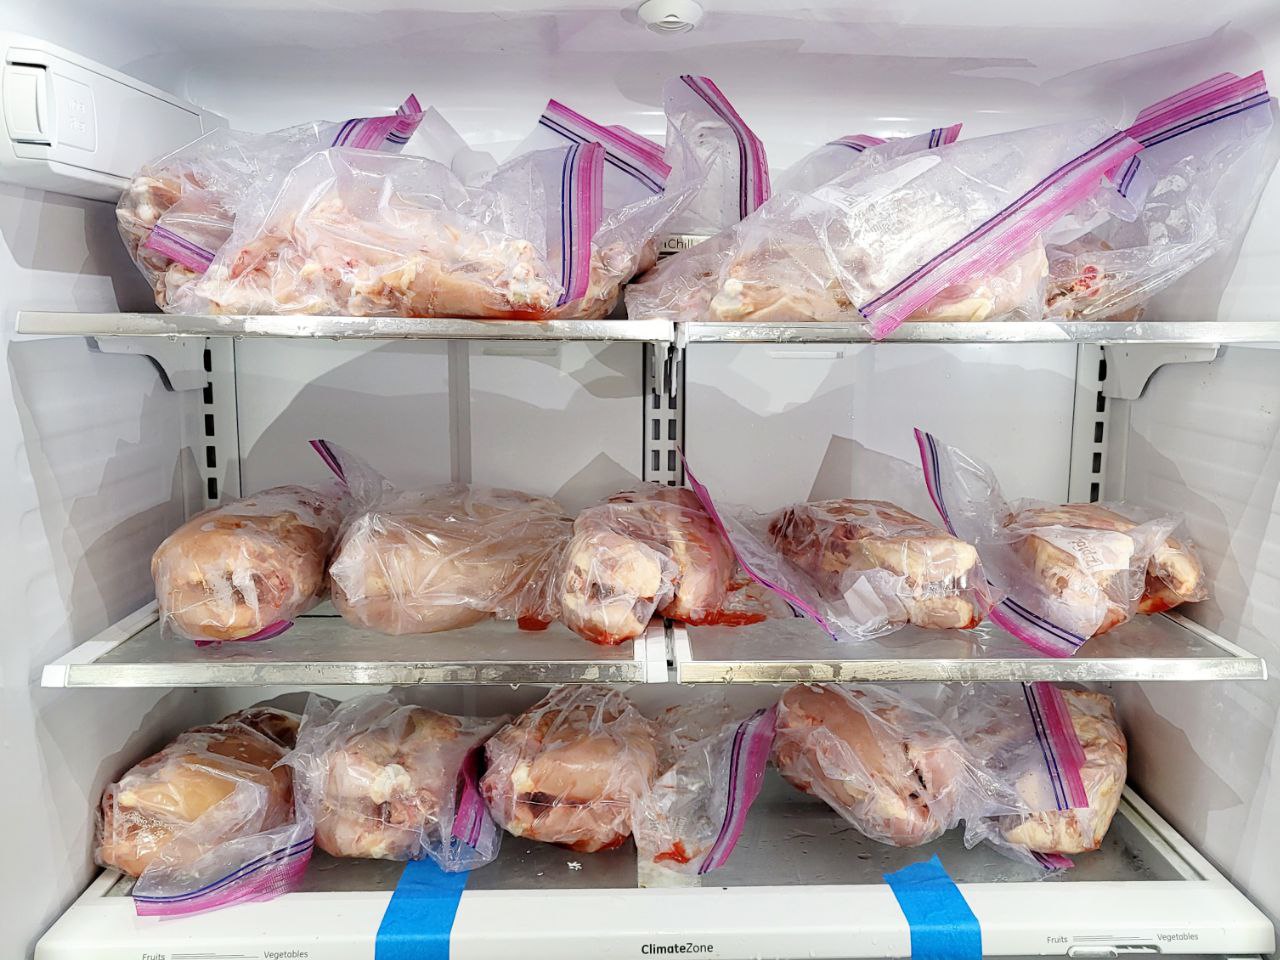
We let the chickens sit in a fridge in our garage around 35 degrees from Saturday when we butchered them to Wednesday before final processing. I brought everything into the house, and made sure the meat was all clean of feathers, skiing and fat we might have missed. I vacuum packed the wings in 2 bags of 10, then 2 quarters in each bag (total of 9 – we used one pair for dinner that night), and then I cut off several of the larger breasts and breast tenders, sealing them in packages of roughly 10 oz (2-3 breasts). I then cut up the ribs, separating the backs from the fronts and I was able to fit all 10 carcasses that way into my big roasting pan. I cooked them down on 250 with 2 quarts of chicken broth for about an hour. Then I removed 4 parts at a time to let them cool a bit so I could peel off all the meat, which I then pressure canned in the cooking liquids in pint jars for 75 minutes.
Our Haul
We ended up with: 20 quarters (20 meals), 20 wings (4 meals), 10 hearts and 10 necks (4-6 meals), 10 livers (2-4 meals), 10 pint jars of meat off the bone (20 meals), and another 10-12 meals of breast cuts. In total, the 10 birds will provide us with meat for about 60 meals, which is on par with what we get from a typical 4 pound pound from the grocery store.
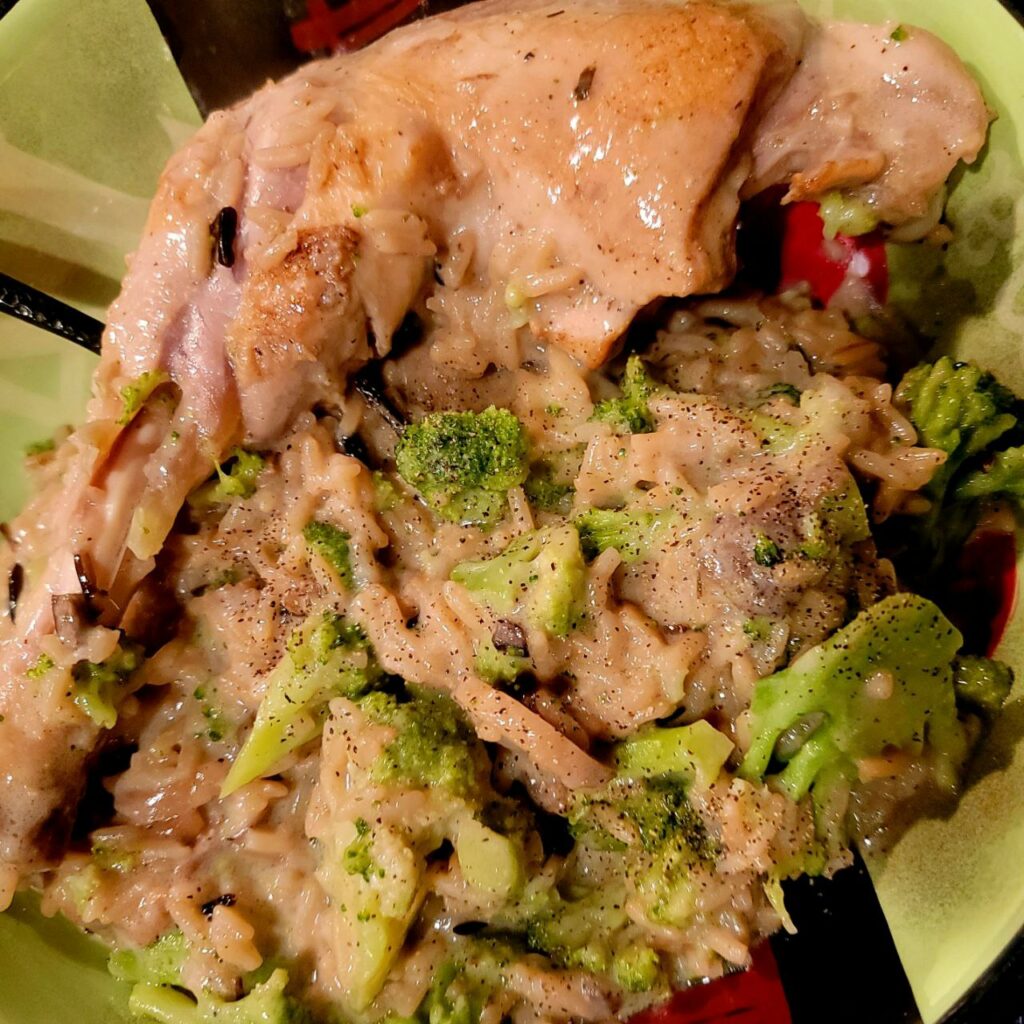
The meat was absolutely delicious from the first meal of quarters that we had. It was tender and had a very deep, rich, REAL chicken flavor. The DEBs turned out to be pretty proportional birds with good sized wings, thighs, and drummies, as well as fairly meaty chests (nothing compared to cornishX on the breast meat, though). Overall, we are pleased with the experience. However, for almost 14 weeks of feeding and caring for the birds, it was disappointing to get weights under 4 pounds and nothing hitting 5.
I think in the future, if we do a freezer filling flock, we will try CornishX. You cannot beat the sustainable breeding you can achieve with the Delaware heritage breed, though, and the meat is the best chicken I have ever had. Even the breast meat I cooked down in the broiler with no seasoning was full of flavor!
